> For the complete documentation index, see [llms.txt](https://wiki.polymaker.com/llms.txt). Markdown versions of documentation pages are available by appending `.md` to page URLs; this page is available as [Markdown](https://wiki.polymaker.com/printing-tips/common-printing-issues/poor-bridging.md).
# Poor Bridging
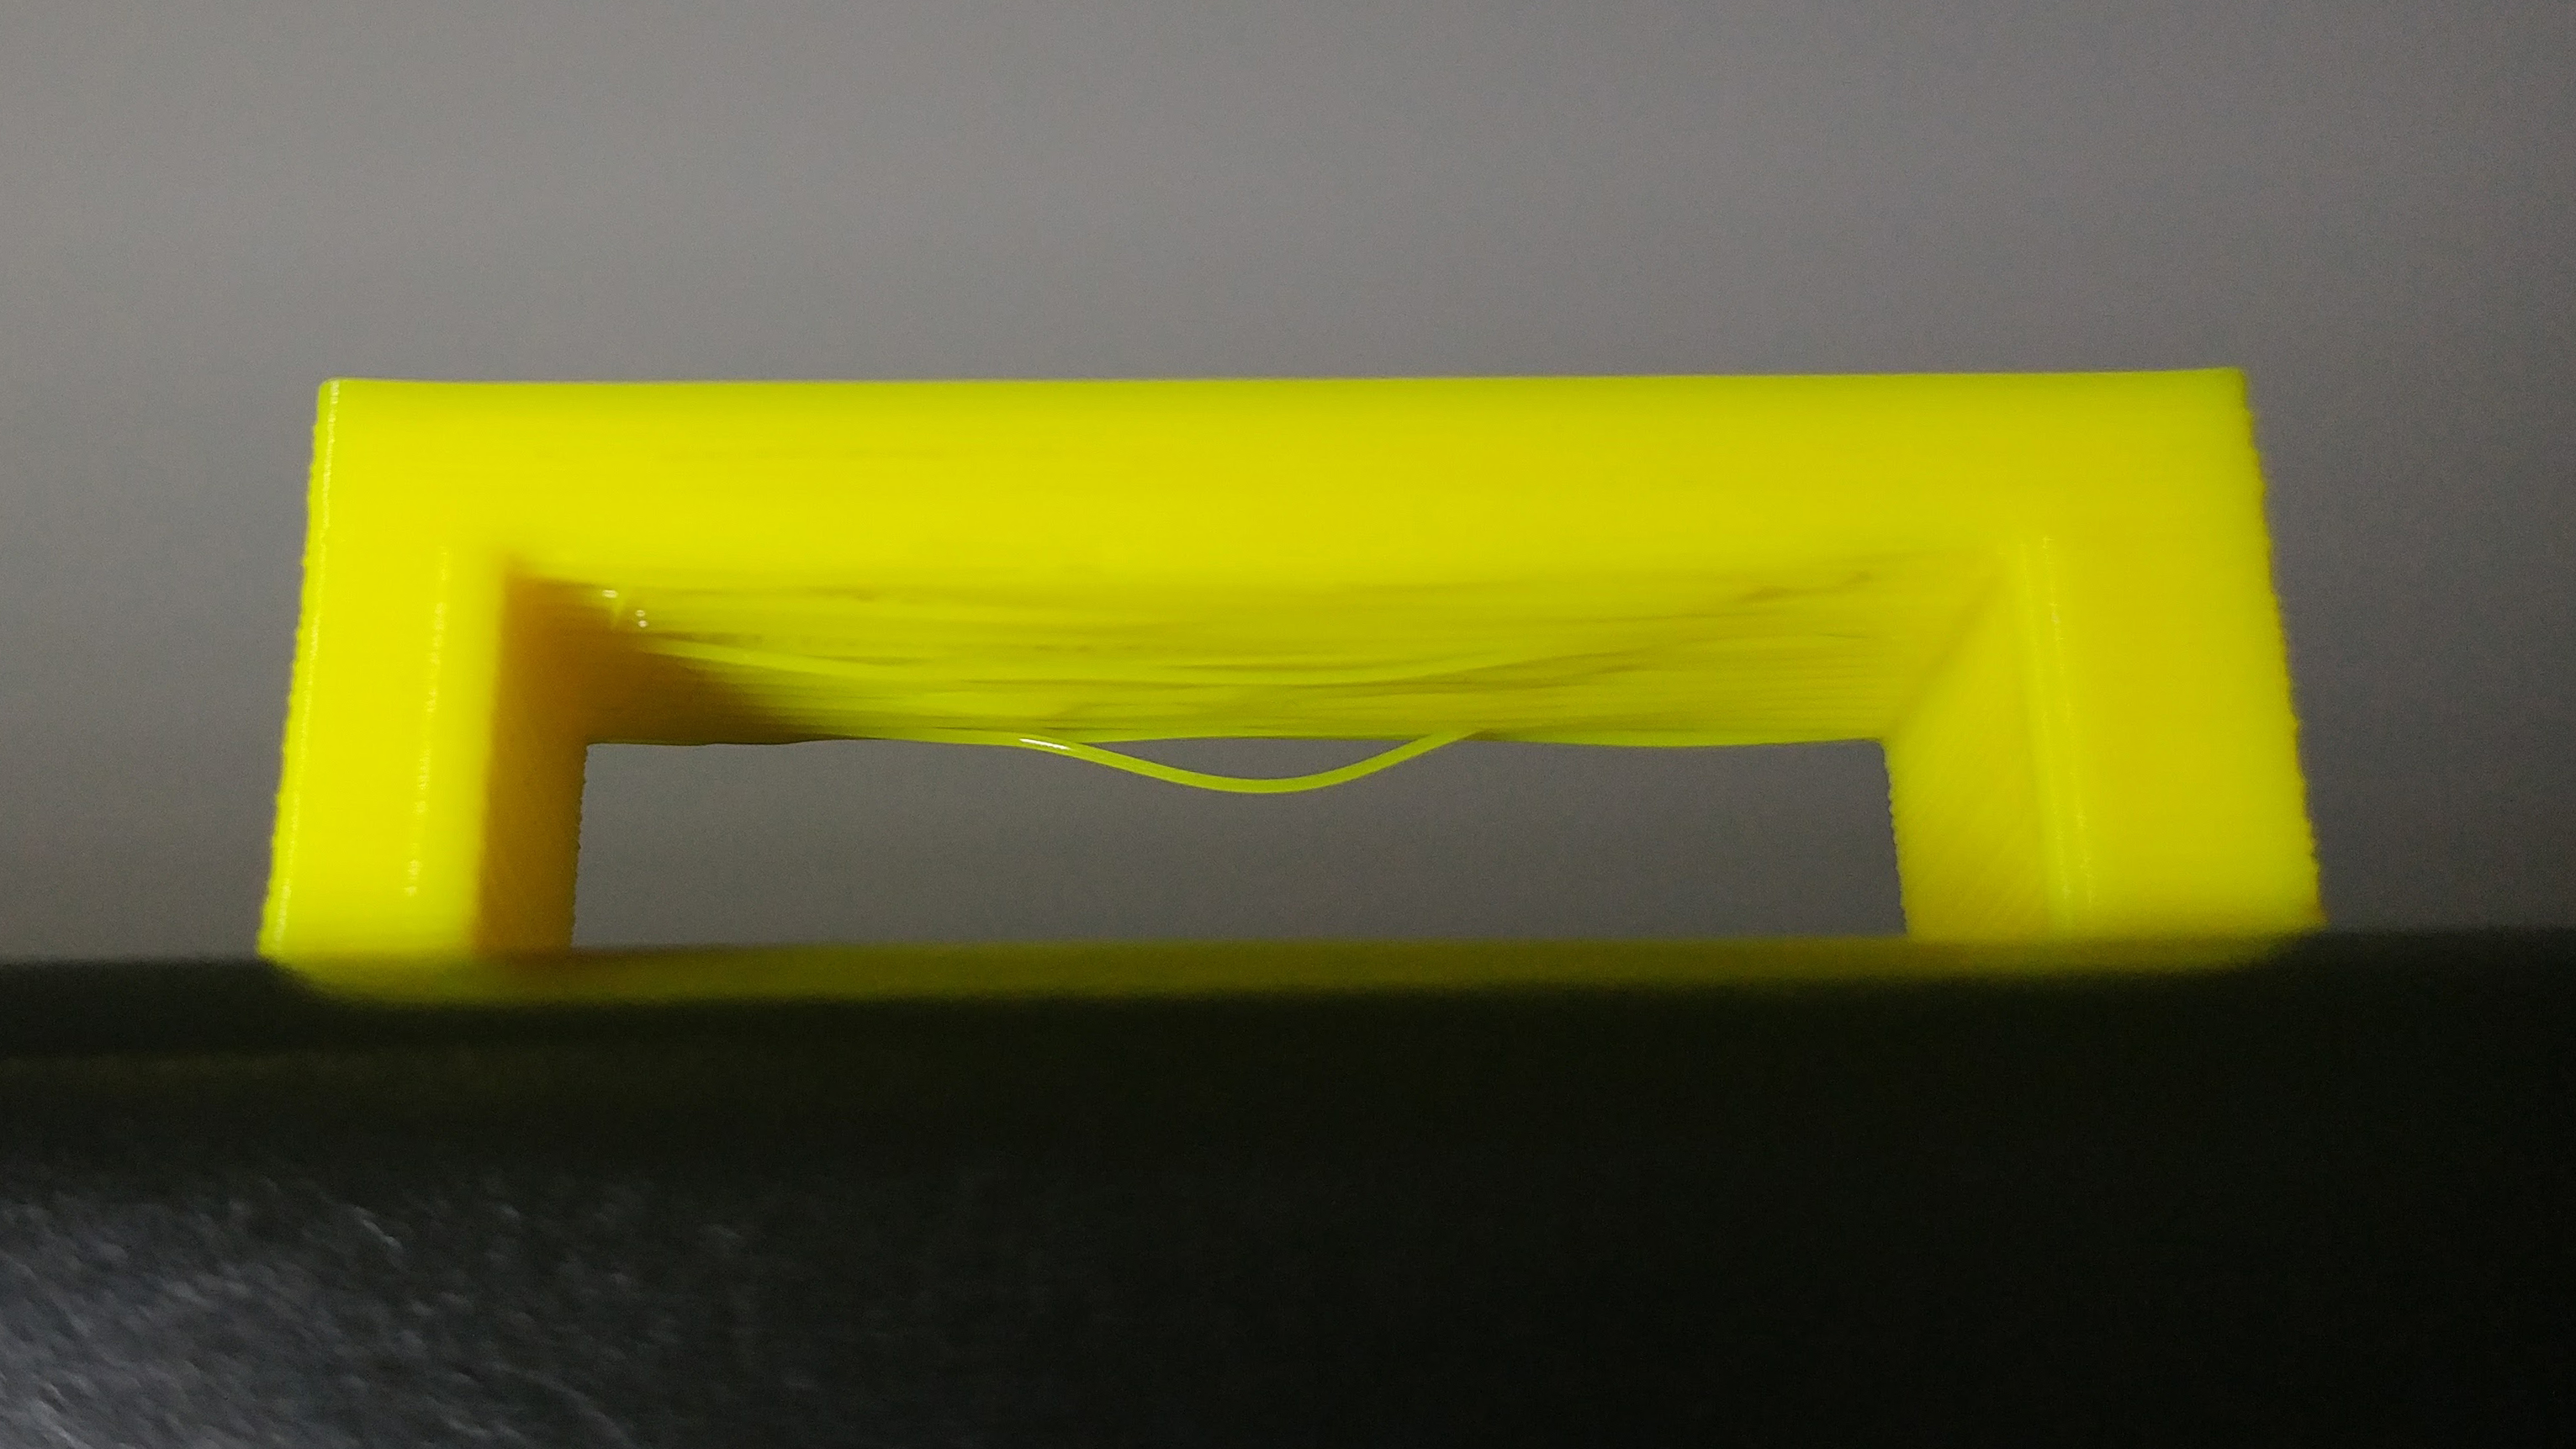
Bridging happens when the printer must extrude material across an open gap between two points without any support below. When bridges fail, filament can sag, droop, or string across the span. The techniques to improve bridging are very similar to improving overhang performance, as both require careful control of temperature, cooling, and speed.
To achieve cleaner, more stable bridges, several adjustments can be made in slicing settings and printer setup.
### Key Settings and Techniques
* **Reduce print speed:** Slowing down the print speed gives the extruded filament more time to solidify in midair before it sags. Typical bridge speeds are between 15–30 mm/s depending on filament and gap length.
* **Increase cooling fan speed:** Rapid cooling helps the filament solidify quickly after extrusion. Maxing out the part cooling fan for bridge sections can greatly improve quality, especially for PLA or other easy-to-cool filaments.
* **Lower nozzle temperature slightly:** Reducing the temperature by 5–15°C can prevent filament from staying too fluid as it extrudes. The goal is to strike a balance between flow and rigidity.
* **Enable bridge detection in your slicer:** Most modern slicers, such as Bambu Studio, PrusaSlicer, and Cura, have dedicated bridge settings. These automatically apply slower speeds and stronger cooling when bridging regions are detected.
* **Adjust extrusion flow for bridges:** Slightly under-extruding on bridges (e.g., 90–95% flow) helps prevent drooping lines and blobs.
* **Minimize unsupported bridge length through design:** If possible, support long spans with small arch shapes, ribs, or small support tabs in the model.
* **Check filament condition:** Poor bridging can also result from wet filament. Ensure it is properly dried before printing, as moisture can cause bubbling and inconsistent extrusion.
* **Maintain a clean nozzle:** Residue on the nozzle tip can pull or drag filament during bridging, leading to uneven lines.
## Summary of Ways to Improve Bridging
* Slow print speeds for bridge sections
* Increase part cooling airflow
* Reduce nozzle temperature moderately
* Use slicer bridge settings and tune flow
* Design to shorten unsupported gaps
* Keep filament dry and nozzle clean
---
# Agent Instructions
This documentation is published with GitBook. GitBook is the documentation platform designed so that both humans and AI agents can read, navigate, and reason over technical content effectively. Learn more at gitbook.com.
## Querying This Documentation
If you need additional information that is not directly available in this page, you can query the documentation by asking a question.
Perform an HTTP GET request on the following URL with the `ask` and `goal` query parameters:
```
GET https://wiki.polymaker.com/printing-tips/common-printing-issues/poor-bridging.md?ask=&goal=
```
`ask` is the immediate question: it should be specific, self-contained, and written in natural language.
`goal` is what the user is ultimately trying to achieve, the reason they need the answer. Sharing it helps GitBook give you a better, more relevant answer. A goal is most helpful when it describes the outcome the user wants rather than restating the question. For example, with `ask=how do I create an API token`, a goal like `automate deployments from our CI pipeline` lets GitBook tailor the answer to that use case.
The response will contain a direct answer to the question and relevant excerpts and sources from the documentation.
Use this mechanism when the answer is not explicitly present in the current page, you need clarification or additional context, or you want to retrieve related documentation sections.